9.08.2010

Spider Bug Buddy Tutorial (bug 3 of 3)


And last but not least, the spider! This one is my son's favorite. I made a proto-type first and discovered that putting the legs closer together coming out of the top of the spider made it look too real... and creepy. But this spider ended up just the right mix of cute and realistic.

Now, to make one yourself!!

Supplies:
  • One fat quarter of fabric
  • small amount of felt in blue and white (for eyes)
  • 1/2" button (for nose)
  • Bug Pattern Pieces (this will give you the pattern for all three bugs)

First cut out all the pieces.


Make the legs by folding them in half and sewing along the long side and one short side at edge of pressure foot. Trim corner and turn.


To make the foot, fold sewn end over 1/2" and sew close to folded edge.


Repeat for all eight legs, but make sure (if you want all the leg seams to face the back) to sew 4 feet one way and the other 4 opposite.


Stuff legs about 2 1/2", then create a knee joint by sewing across the leg. I sewed across it 3 times using my backstitch.


Finish stuffing the legs leaving about 1/2" space for sewing.


Prepare body by sewing 2 body pieces together. Do this twice so you have two halves.
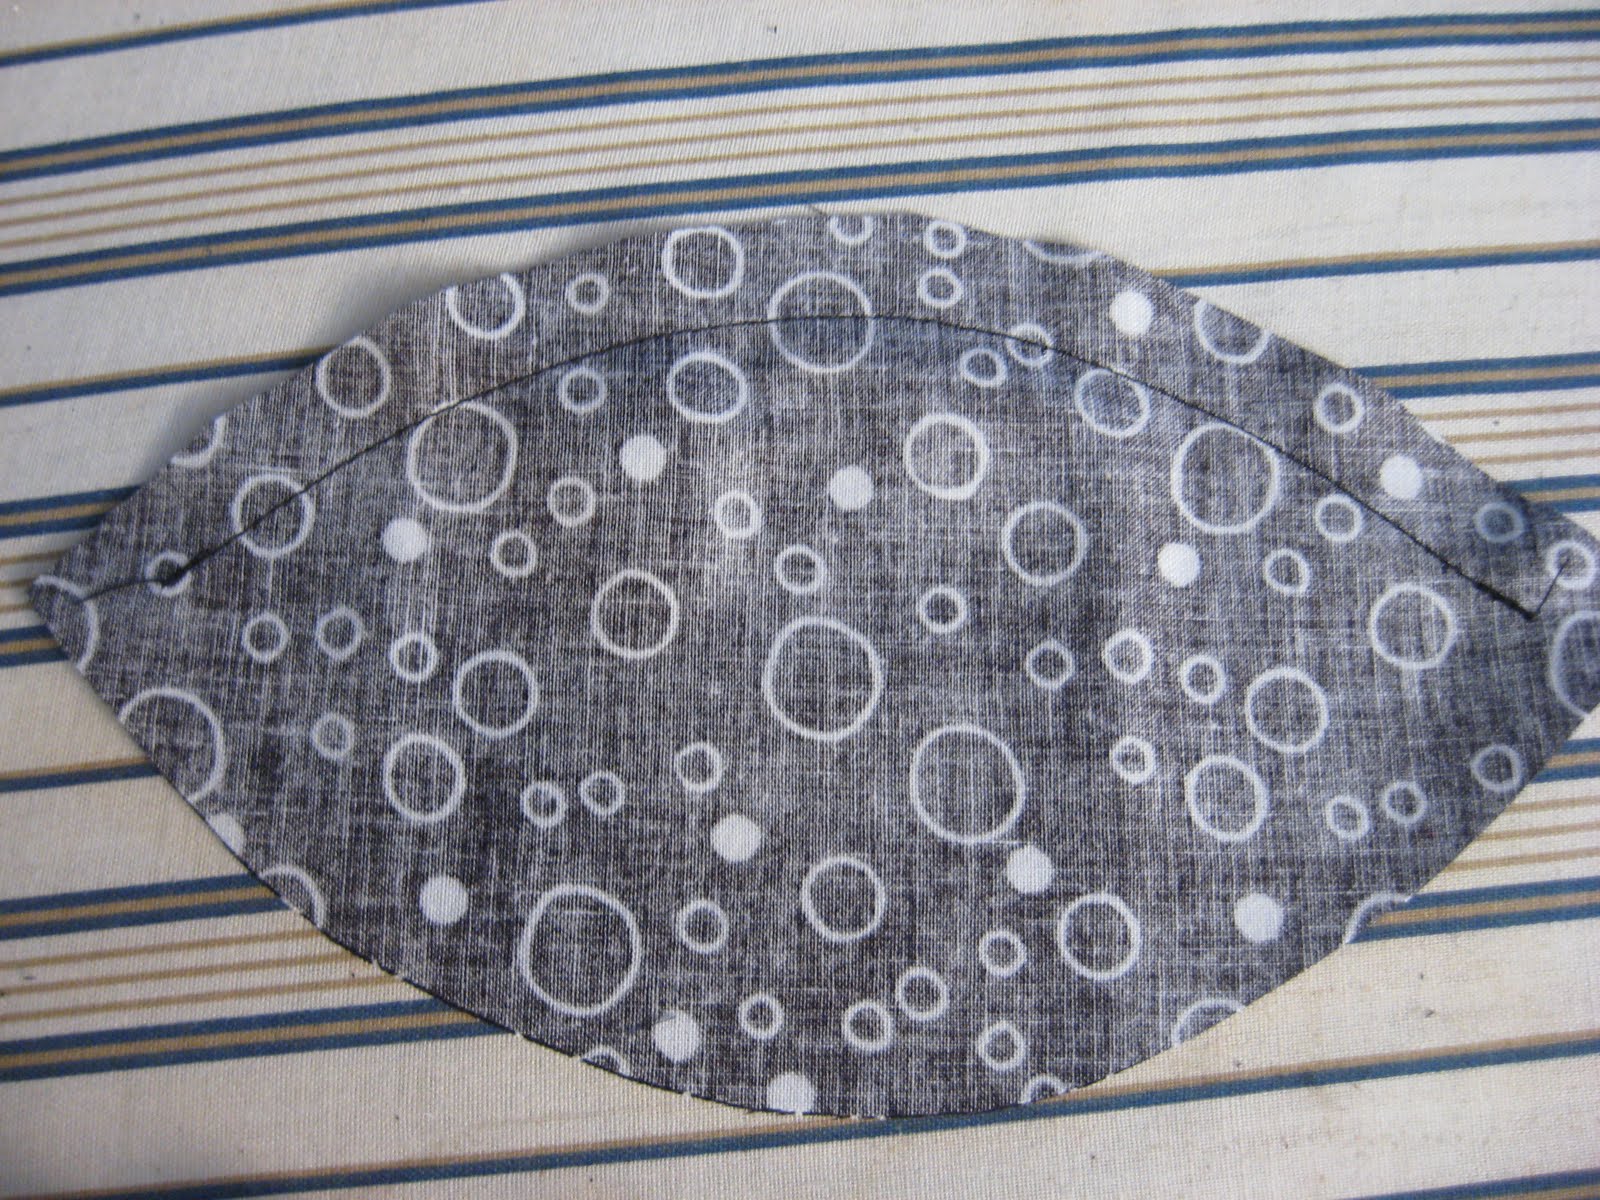


Take one half and pin on 4 of the legs. Make sure to have the feet pointed down and all the seams pointed back. Pin first leg about 2 1/2" from the front, each leg should be about 1/4" apart. Baste legs on.


Repeat on the other side, lining up legs with first side.


You should now have a squashed looking spider:


To assemble the body, sew only one side at a time to make it easier with the legs.

Take the other half of the body and pin to one side. Sew on a 1/2" seam leaving 1" from seam on one end. I like to place 2 pins together to mark where to start.


Tuck all legs inside and pin second half (this takes some patience). Sew second side leaving 1" to seam (2" hole total) at one end.


Clip the seam where you sewed over it.


Turn and stuff. Handstitch the opening closed. Add face by stitching button nose at seam intersection and eyes made from felt.


Enjoy your Spider Bug Buddy!


Spiders say "Rawr!"


Don't forget to make his friends:

9.03.2010

Ladybug Buddy Tutorial (bug 2 of 3)


How cute it he? The way the pieces meet in a triangle makes this adorable bug look like it has a sad little frown. Makes me think of the adorably grumpy Eeyore from Winnie the Pooh. I love Winnie the Pooh. . . 

But I'm getting sidetracked.

Let's make a Ladybug!!

Supplies:
  • Small amounts of black and red fabric.
  • Small amount of Heat N Bond (or wonder under)
  • 1/2" button (for nose)
  • 5/8" black satin ribbon (for feet)
  • Small amounts of white and blue felt (for eyes)
  • Bug Pattern Pieces (this will give you the pattern for all 3 bugs)

Ready? Start by cutting out all pattern pieces. (Don't forget to cut out the piece for the antenna 6"x2")


Take the face pieces (triangles) and fold over 1/2" on the long side. Press down.


Pin the triangle face pieces onto the red body pieces with folded side down. (There is no flipping here) Sew close to edge on all three sides. Trim off over hang from fold.


Make the spots by tracing a spool of thread onto the paper side of Heat N Bond. I did 3 spots, but you can do more or less.


Trim around the circles, but don't cut them out yet. Iron onto a small piece of black fabric. Allow to cool before cutting the circles out.


Peel off the paper and place the plastic-y side down. Arrange spots where you want them. Don't place them too close to the edge (you will take a 1/2" seam). Iron on. 

This will make the spots secure, so I chose not to sew around them. You can for added strength or for a design element.


Make antenna by folding the long sides to meet in the center and press.


Fold in half again and sew down the the long side. Then tie a knot on each end.


Fold antenna in half so knots are together and place on the black face next to the red body.


Pin the two red body pieces together on one side with antenna in between. Sew with a 1/2" seam starting a stopping at the dots on the pattern piece.


Cut 6 pieces of 2 1/2" of ribbon for the feet.


Pin feet onto black body piece making sure they will line up behind the black face pieces. It will help to lay them next to each other while placing the feet. Baste the feet on.


With right sides facing, pin the black body piece to the red ones. Leave a 2" opening at the back end of the body for turning and stuffing. I like to place 2 pins close together to mark where to start and stop so I don't accidentally sew my opening closed.


Finish up your Ladybug by turning and stuffing. Then hand stitch the hole closed. Add the face by placing the button nose on the point where all 3 black pieces meet and making eyes from the pieces of felt and hand stitching them on.


Enjoy your adorable Ladybug buddy!


And don't forget to make his buggy friends: 


Bubble Bee Tutorial (bug 1 of 3)


Whew! It's finally here! Thanks for your patience as I figure out how everything works. And now that patience has paid off!

First thing you will need is to gather your supplies:

  • small amounts of yellow, black and white fabric
  • 5/8" black satin ribbon (for feet)
  • 1/2" button (for nose)
  • small amount of white and blue felt for eyes
  • basic sewing supplies
  • Bug Pattern Pieces (this will give you all the pieces for all 3 bugs)

After you get things together, cut out your pattern pieces:


Next, you will fold the stripe sides in so they meet in the center and iron flat:


Place stripes on body piece. Measure 2" from the tail end and pin the first stripe on. The next stripe will be at the 4" mark (or leave a 1" space between the two stripes).


Sew the stripes on. I chose to use white thread on the black, but black would look nice as well.


Repeat for all body/stripe pieces.
Then trim the overhanging stripe edges.


Next step is to make the wings. Iron on interfacing to each piece. Sew around the edges on a 1/4" seam, starting and stopping at the small dots to make for easier turning.

Trim tip, turn and press.


Pin wings to one body piece between stripes. Baste wings on. Set aside.


Cut 6 pieces of ribbon 2 1/2" long.


Pin legs on one body piece, 3 on each side. Baste legs on.


At this point, you should now have 4 pieces. Lay them out like the picture below, all the tail ends pointed the same direction.


Fold top pieces over and pin each half on the top side. Sew on a 1/2" seam starting a stopping at dots on the pattern piece.


Lay two halves down, tail ends facing the same way:


Fold over top half over, pin. Sew around leaving a 2" gap on one end (it really doesn't matter which end you choose) for turning and stuffing. I like to place 2 pins close together to mark where to start and stop:


Sew around. You will sew in the seams from before. Snip the seam so that it will open and look better when stuffed.


Turn the body right side out and stuff. Hand stitch the opening closed.

Make face by stitching on the button over the intersection of seams. Then cut the eyes from pieces of felt and hand stitch on.


And now you're done! Enjoy your Bumble Bee Buddy!


And don't forget to make his friends!

Ladybug Buddy and Spider Bug Buddy!


9.01.2010

Glitches

I had hoped to have the tutorials for the bugs posted by now. However, I am having difficulties. In addition to documenting the process with pictures, I drew out pattern pieces for the bugs to make it easier for you. The problem I am having is getting the paper scanned in to stay the correct size! I'm working on fixing the problem. In the meantime, please enjoy these cute pictures of my son on his first day of preschool.


I tried my best to recreate every beginning of the school year photo I had growing up. You know, the squinting-as-you-stare-into-the-morning-sun-so-mom-has-good-light shot? But Hero wouldn't cooperate and chose to look at a bug on the ground. Oh well, there are many years to come to get it right.