My house is a mess.
My kids are sick.
My head aches.
My sewing machine is broken.
But I just watched Inception with a big crowd of family and now I'm making cookies for us to eat.
Happy New Year!!

Showing posts with label holiday. Show all posts
Showing posts with label holiday. Show all posts
1.01.2011

12.01.2010
Let the Countdown Begin!!
Well, they are done! I finished the last two today, but they are ready! Here are the last 9 ornaments for my advent calender:

Peppermint candy, a star for the top, bell, and ball ornament.

Santa Claus and a snowman.

A snowflake.

And what kind of Christmas would it be without pumpkin pie? In my house, growing up, we never left cookies for Santa. It was always a piece of pumpkin pie.

And I'm sure you were thinking, "What's up with the crazy heart?" Maybe this will help:

All done! It was fun to put them all up for this picture.

And also very sad to put them back in the pockets. Anyone else have trouble deciding which pocket to put each one in? I want them all up for the whole month!! Merry Christmas Season!!
11.29.2010
Lazy Thanksgiving Weekend
While I wish that I had something new to share, I did what should be done over a holiday weekend. Nothing.
Well, I can't say nothing. I cleaned some, cooked more, and spent a great deal of time with family. Oh, and EATING. Lots and lots of eating. Like, an-extra-5-pounds-worth of eating. So sad, but my bro-in-law makes the best mashed potatoes. . . you can't help but eat a ton of them, especially with awesome gravy.
Happy (late) Thanksgiving to you all!
Bring on winter and the Christmas season so we can listen to a lot of the Trans-Siberian Orchestra and do a lot more sledding!

Well, I can't say nothing. I cleaned some, cooked more, and spent a great deal of time with family. Oh, and EATING. Lots and lots of eating. Like, an-extra-5-pounds-worth of eating. So sad, but my bro-in-law makes the best mashed potatoes. . . you can't help but eat a ton of them, especially with awesome gravy.
Happy (late) Thanksgiving to you all!
Bring on winter and the Christmas season so we can listen to a lot of the Trans-Siberian Orchestra and do a lot more sledding!

11.15.2010
Advent Sew Along
Last year, I fell in love with the advent calender over at Inchmark. And then felt went on sale at JoAnn's and it was decided! I made the calender part, with a few changes.
First, I decided that hand sewing is for suckers. Not really, I just didn't want to hand sew all the pockets and tree on, so I used my machine.

Next, my pockets are not the small 2.5 in square. I decided to make mine 4 in square. At first, I wanted to do this so that I wouldn't have to make as tiny of ornaments to fit in my tiny pockets. Now, I think the ornaments will still be small; but this way I can put in some candy as well.

Because the pockets are bigger, the tree had to be bigger too. Mine measures 20" along the bottom and the same 20" tall at the point. I also decided on using bright multicolored buttons because I've always been a fan of Christmas lights of the colored variety!

Last year, since it was already a week into December, I was pregnant (aka TIRED), and realized that I would not be able to machine sew the tiny ornaments and have them look good; add on top that I would have to make up my own patterns for the ornaments and I was out. I used some little candy canes ornaments last year, thinking I would just make the ornaments (by hand) this year.
To my surprise, Homemade by Jill has decided to do a sew along of this exact calender! And she just posted some templates for ornaments that someone else sent in to her! I'm super excited! I may still make up a few of my own, but we will see.
I like how my bigger version has turned out, and I can't wait for the ornaments! Hero's a big fan, too. Since he's still working on number recognition, this is perfect!


11.12.2010
Little Turkey Hands tutorial
Remember when we were in elementary school and would trace our hands, color in the fingers and turn it into a turkey? I decided to make this classic into a more permanent decoration piece.

I love that it's a keepsake of my kids this year.
Here's how it's done.
Supplies:
- Wooden plaque
- Paint
- Rag
- Scraps of brown fabric and fall colors fabrics
- Mod Podge
- Sharpie
- Wood sealer
Instead of painting with a brush, I globbed paint on to the plaque, and rubbed it in with the rag.

This way, the grain is still visible.

I put the blue sky on first, the added green over top, using a new rag.

I traced my kids' hands onto paper and then cut them out.
 |
| you can see where I practiced the turkey on Pretty's hand :-) |
Fold over the fingers and cut the palm and thumb out of the brown fabric.


To cut out the fingers, I cut the fingers off the pattern one at a time (so I didn't mix them up!). Leave about 1/4" on the bottom when you cut it out.


Place the pieces on the plaque with the fingers under the palm.

Carefully pull the palm off, leaving the fingers in place.

Use a pencil to mark the place of the fingers.


Paint Mod Podge onto the back of the fingers and place them back one at a time. Then Mod Podge the palm and put it in place over the fingers.

Here's what you should have at this point.

Cut tiny triangles and use Mod Podge to secure them as the beak.

Use a Sharpie to draw in the feet.
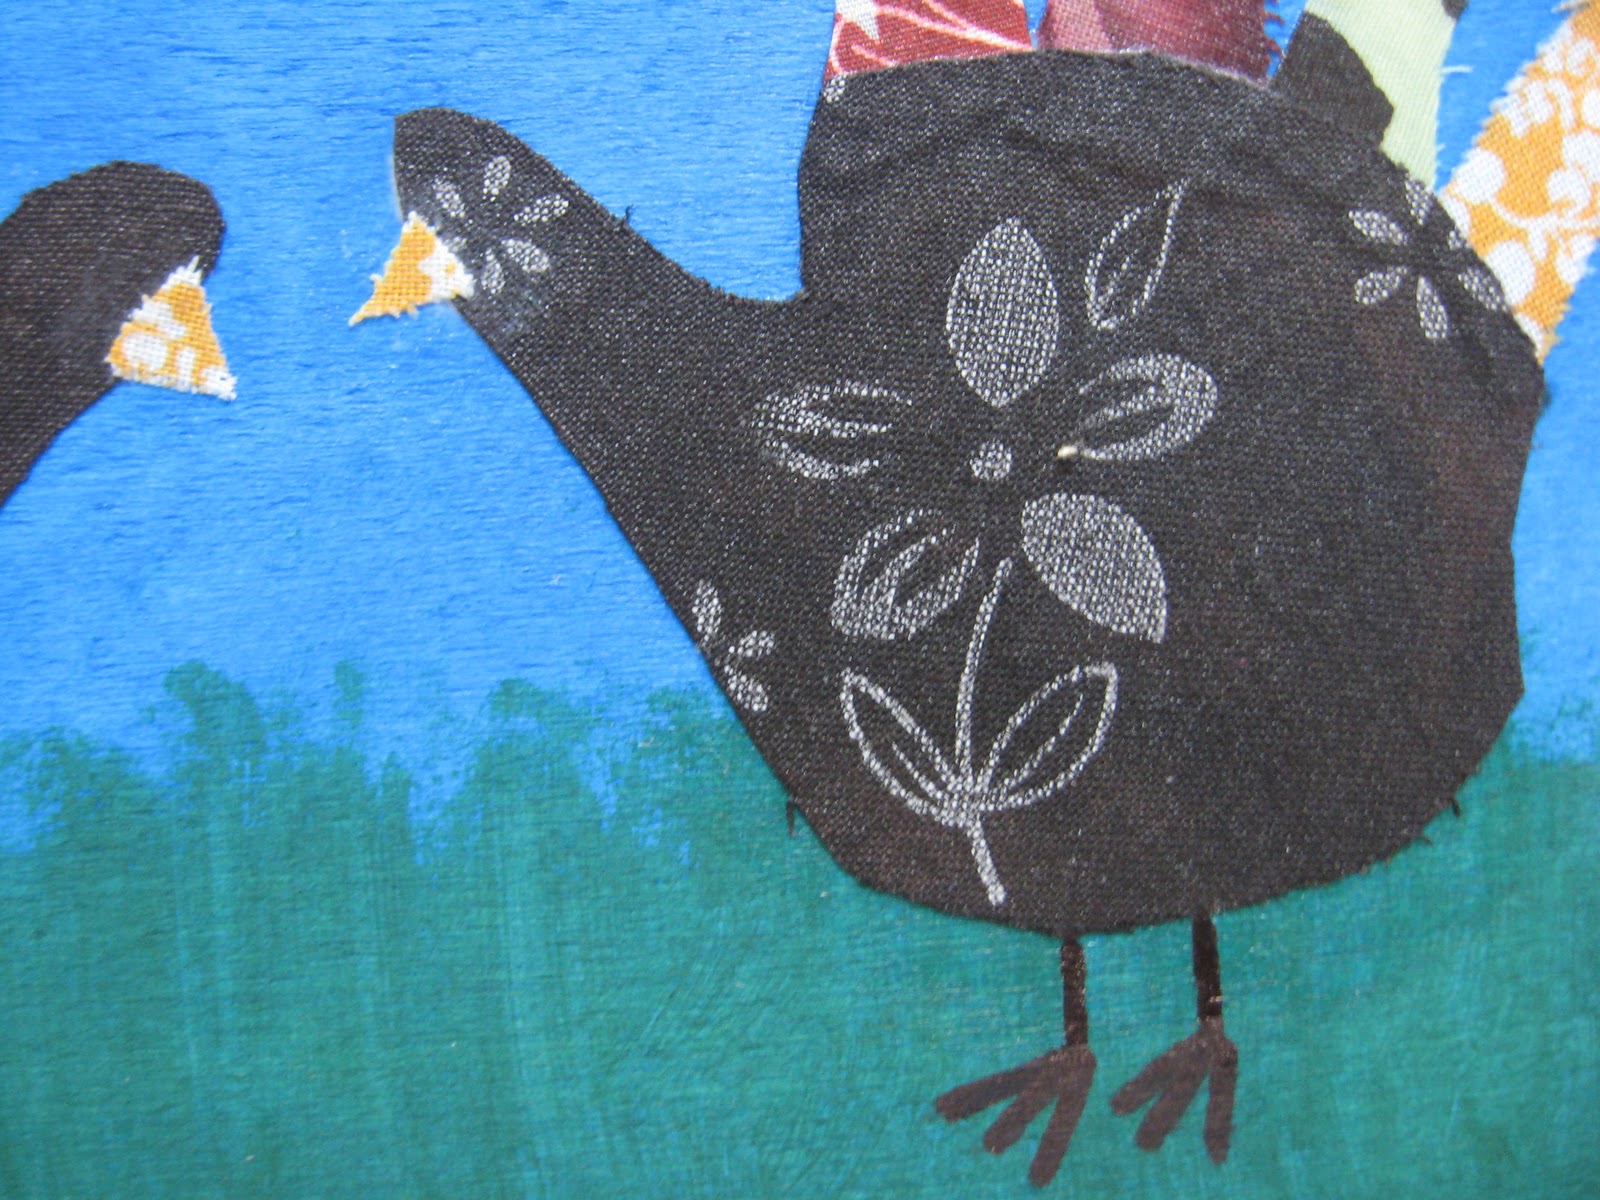

Lastly, I went over the whole plaque with a thin layer of Mod Podge (it makes it a bit shiny), then wood sealer.

Gobble! Gobble!
Subscribe to:
Posts (Atom)