11.16.2010

I'm opening a shoe making factory. and other stuff.

While I am sewing and working on projects every day, I don't really have anything new to share. As the title suggests, I'm currently making shoes. Tiny, adorable baby shoes. About 6 pair. . . This is what happens when everyone I know decides to procreate at the same time!

I am also working on Christmas ornaments for my advent calender AND real ones for my entire side of the family. I'll tell the whole story behind it all when they are done, but here's a bit of a preview.


Can you guess what they will become? If you can, you are amazing, because there is still a piece to make, then some assembly.

And lastly, I'm working on a cute little sweater upcycle thing that worked, but not quite. So I need to try again before I feel I can share with you how to make one. But let me tell you, it will be worth the effort (and the wait)!

Good night bloggin' friends!

11.15.2010

Advent Sew Along

Last year, I fell in love with the advent calender over at Inchmark. And then felt went on sale at JoAnn's and it was decided! I made the calender part, with a few changes.

First, I decided that hand sewing is for suckers. Not really, I just didn't want to hand sew all the pockets and tree on, so I used my machine.


 Next, my pockets are not the small 2.5 in square. I decided to make mine 4 in square. At first, I wanted to do this so that I wouldn't have to make as tiny of ornaments to fit in my tiny pockets. Now, I think the ornaments will still be small; but this way I can put in some candy as well.


Because the pockets are bigger, the tree had to be bigger too. Mine measures 20" along the bottom and the same 20" tall at the point. I also decided on using bright multicolored buttons because I've always been a fan of Christmas lights of the colored variety! 


Last year, since it was already a week into December, I was pregnant (aka TIRED), and realized that I would not be able to machine sew the tiny ornaments and have them look good; add on top that I would have to make up my own patterns for the ornaments and I was out. I used some little candy canes ornaments last year, thinking I would just make the ornaments (by hand) this year.

To my surprise, Homemade by Jill has decided to do a sew along of this exact calender! And she just posted some templates for ornaments that someone else sent in to her! I'm super excited! I may still make up a few of my own, but we will see.

I like how my bigger version has turned out, and I can't wait for the ornaments! Hero's a big fan, too. Since he's still working on number recognition, this is perfect!


Does I still count as a sew along participant when I made the first part last year? :-)

11.12.2010

Little Turkey Hands tutorial

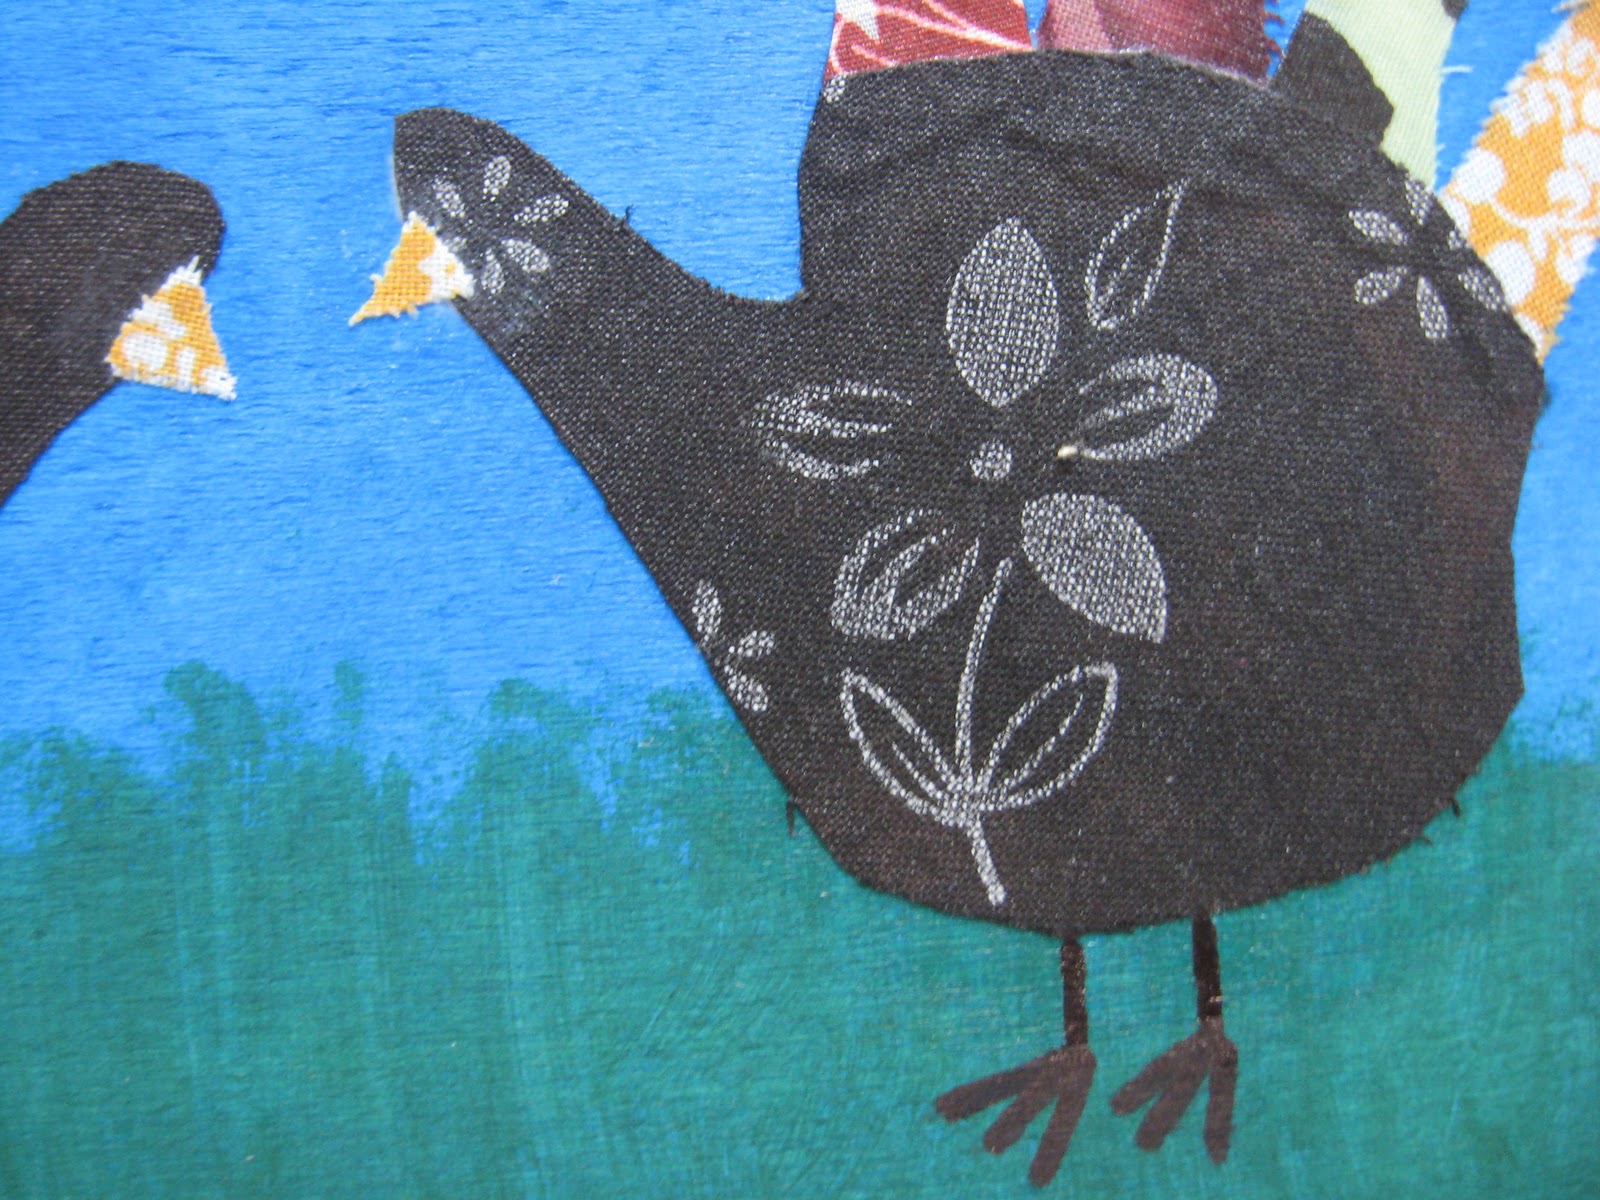
Remember when we were in elementary school and would trace our hands, color in the fingers and turn it into a turkey? I decided to make this classic into a more permanent decoration piece.


I love that it's a keepsake of my kids this year.

Here's how it's done.

Supplies:
  • Wooden plaque
  • Paint
  • Rag
  • Scraps of brown fabric and fall colors fabrics
  • Mod Podge
  • Sharpie
  • Wood sealer
Instead of painting with a brush, I globbed paint on to the plaque, and rubbed it in with the rag.


This way, the grain is still visible.


I put the blue sky on first, the added green over top, using a new rag.


I traced my kids' hands onto paper and then cut them out.

you can see where I practiced the turkey on Pretty's hand :-)

Fold over the fingers and cut the palm and thumb out of the brown fabric.


To cut out the fingers, I cut the fingers off the pattern one at a time (so I didn't mix them up!). Leave about 1/4" on the bottom when you cut it out.


Place the pieces on the plaque with the fingers under the palm.


Carefully pull the palm off, leaving the fingers in place.


Use a pencil to mark the place of the fingers.


Paint Mod Podge onto the back of the fingers and place them back one at a time. Then Mod Podge the palm and put it in place over the fingers.


Here's what you should have at this point.


Cut tiny triangles and use Mod Podge to secure them as the beak.


Use a Sharpie to draw in the feet.


  If I had an awesome vinyl machine, I would probably have used it to make the saying. But instead, I used my pretty handwriting; writing it with a pencil first, then going over it with a Sharpie.


Lastly, I went over the whole plaque with a thin layer of Mod Podge (it makes it a bit shiny), then wood sealer.


Gobble! Gobble!

11.10.2010

"Girly" Dresses

Spoiler, Audrey! Don't let Rora see this!!


For my niece Rora's birthday, my sister asked that I make some Warhol dresses. I went to the thrift store and found two t-shirts for under $4 each.

This first one was made from a Women's XL fitted tee. Because it has been a while since I last made one, I misread the instructions and didn't make the tie long enough by half. Oops! I realized it while I was pinning it in place.


And then, because of the size of the shirt, I didn't have enough to make the second half. Rather than using a different shirt (because all I had was white, *boring*, or black, * Halloween-esk*) I  decided to use the short tie and add a button closure.


And to make the blue button less random, I added a flower using this tutorial with a second button in the center. Instead of using pinking shears, I used regular scissors and melted the edges with a candle after it was sewn on.


The second dress was from a Men's XL. This shirt was brand new with tags still on! The perfectly matching contrasting tie was just the inside of the shirt.


I love the fact that these adorable dresses are not in stereotypical girl colors, but they are still pretty girly. It fits her personality perfectly. I hope she (and her mommy) like them!


Happy Birthday, Rora!

11.09.2010

Scarf Winner!

If I knew how to get the image over here, you would see that between the numbers 1 and 13, random.org chose


#13!
 
Denise: "I also follow you. (And my fave color is purple, or brown, or orange, or maybe black. IDK)"


Who says 13 is unlucky? I was married on a Friday the 13th, and it was perfect.

Congrats Denise!

11.08.2010

Don't Forget!!

Only a few more hours until the giveaway is over! Your chances are pretty good. . . why not take a shot at winning this awesome scarf?


11.04.2010

Fall for You Scarf Giveaway! (closed)

I have been taking a break from sewing after doing so much for Halloween. It was nice to go a few days without making anything. But of course, it was just as nice to get back to it and create this lightweight scarf, perfect for fall! Introducing the Fall for You Scarf!


I used muslin for the scarf body, cut two rectangles 53 in x 7 in. On one end of one of the rectangles, I freezer paper stenciled a bare tree in plum purple. After it was dry, I sewed the two pieces together, right sides facing, on a 1/2" seam, leaving a small opening. Then I flipped, pressed the scarf and hand sewed the opening closed.

The last step was to make and attach the "leaves" (you can be making these while the paint of the tree is drying). I used V and Co.'s tutorial here to make 3 of leaves of each of the 5 colors. Then I arranged them to my liking and hot glued them on!


Just perfect for a slightly chilly fall day!

And here's the fun part! For the first time on this blog, I'm going to have a giveaway! I want to send this scarf to a lucky winner! Here's how to enter:

There are 3 chances:

  • Leave a comment telling me what your favorite season is and why. Or what your favorite color is. Or why you rock. . . or anything really. . . (1 entry)
  • Become a follower. (1 entry)
  • Blog about the giveaway, include the link in your comment so I can check it out. (1 entry)
Leave a separate comment for each entry. Make sure to leave your email address in the comments so I can reach you if you win! The giveaway will be open until 11:59pm Monday, November 8th. The winner will be selected by random.org and announced Tuesday morning.